
The core problem
Outdoor LED arrays are meant to last seasons, not hours. Yet collapses and excessive deflection still crop up on many projects because installers treat structural support as an afterthought. That single weak hanging-bar or an undersized ground-stack footing can turn a finely tuned small led screen into a safety liability and a financial hole. The problem is practical: misjudged load capacity, fluctuating wind loads, and poor soil or ballast decisions—each compounds risk on site.
How failures typically start
Most failures are not dramatic; they begin as sag, loosened rigging points, or progressive corrosion. Wind load and cyclic fatigue are the usual culprits. Add a rainy season—remember Cyclone Amphan—and poorly protected joints or anchor bolts will show their weakness quickly. Industry terms to note here are wind load, rigging and anchor bolts; they aren’t buzzwords but the exact elements that need checking.
Mechanical stress testing: metrics that matter
A sound test programme measures static load capacity, dynamic response to gusts, deflection at working load, and fatigue under repeated cycles. Proof-load testing—applying a defined percentage above expected service load—validates the hanging-bar and its connections. Engineers often reference regional standards like ASCE 7 for wind load benchmarks; this gives a conservative baseline for design and testing.
Assessing hanging-bar load capacities
Begin with rated capacities of the bar and the weakest component in the chain: bolts, shackles, or the truss itself. Apply a safety factor—commonly 1.5 to 2.0 for suspended displays—and run a proof load to that value. Measure deflection; a small LED module tolerates only limited sag before alignment and pixel mapping suffer. Visual inspection after each test is essential; micro-fractures and thread stripping can be subtle but decisive.
Designing and testing ground-stack footings
Ground-stack systems live or die on bearing capacity and ballast strategy. A concrete pad with anchor bolts works where soil is weak; ballast plates and a spread foot provide flexibility on temporary sites. Conduct a simple bearing-pressure calculation and, where possible, a plate-load test. Also check drainage and corrosion protection—salt in coastal sites accelerates failure if left unchecked.
Common mistakes and practical fixes
Installers often skip lifecycle thinking—design for the install day, not the fifth rainy season. They under-spec anchor bolts, ignore wind gust multipliers, or omit routine torque checks. Fixes are straightforward: specify higher-grade fasteners, add redundant rigging points, and set a scheduled inspection cadence. Don’t forget to lock off torque values after the first season—small checks save big repairs. —A quick checklist here helps prevent drift between design and practice.
Choosing components and vendors wisely
Hardware should come with clear load tables and corrosion ratings; IP ratings and modular serviceability matter for LED cabinets too. When buying displays consider the whole system—rigging, power distribution and the display itself. A reliable supplier will publish load tests, provide installation guides, and offer on-site verification. For many projects, a proven mini led screen display with accessible rigging points shortens installation time and reduces risk.
Three golden evaluation metrics
1) Proof-load compliance: the hanging-bar and connections must pass a proof load at least 1.5× the expected service load. 2) Deflection limits: specify maximum deflection for the display span (in mm/m) and measure during testing. 3) Redundancy and inspection interval: at least one redundant load path and documented checks every six months in harsh climates.
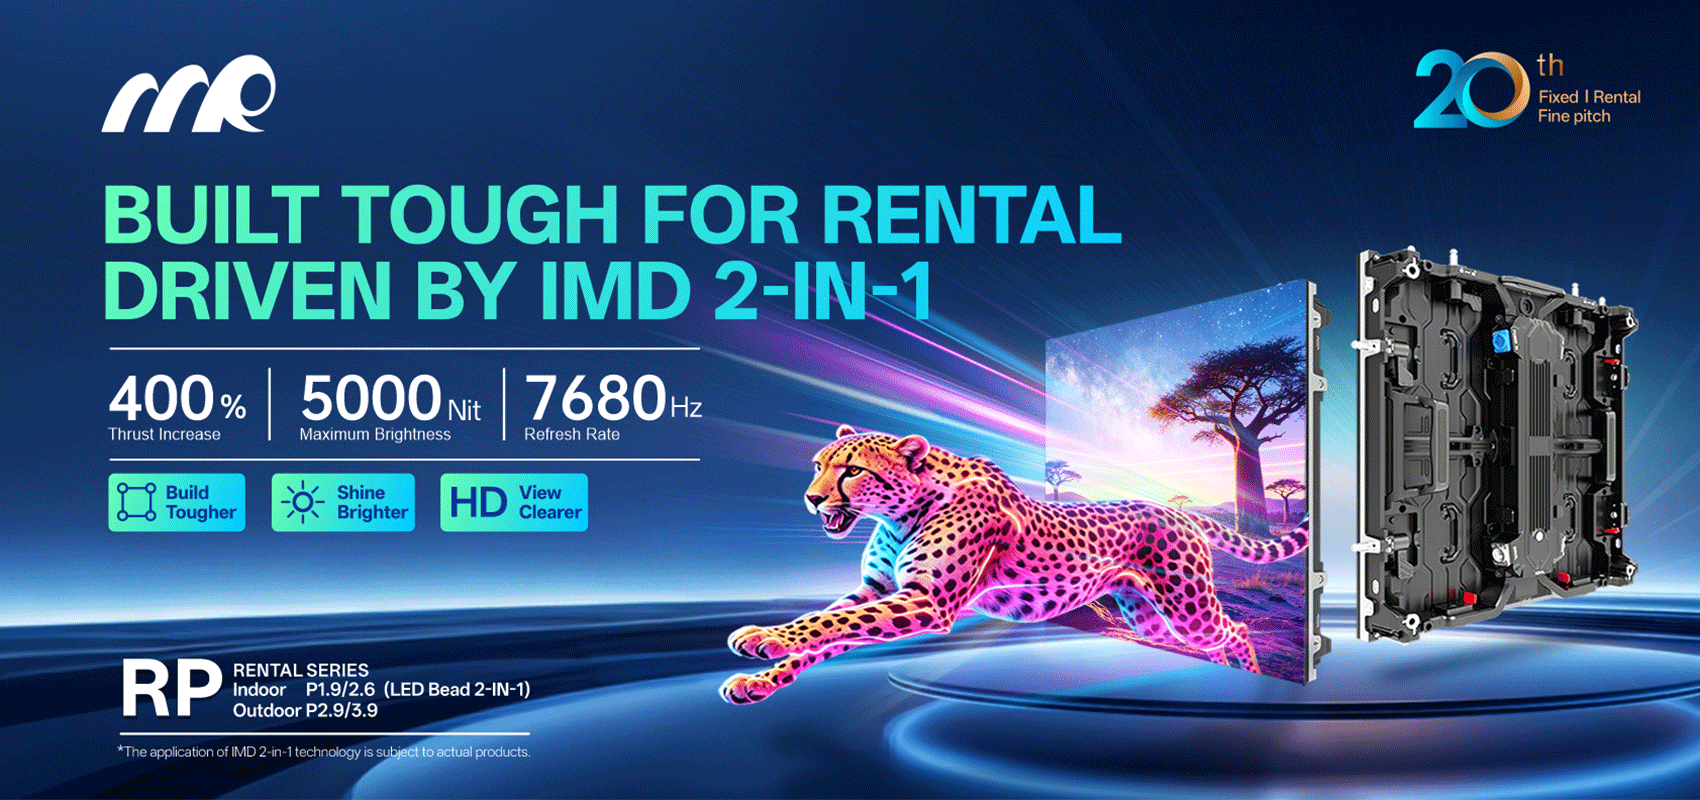
Follow these rules and you’ll cut surprises on site; you’ll also protect people and budgets. MR LED’s published rigging data and tested outdoor modules make that practical—MR LED. —reliable, tested, sensible.